Sunday, 13 May 2012
Title Screen
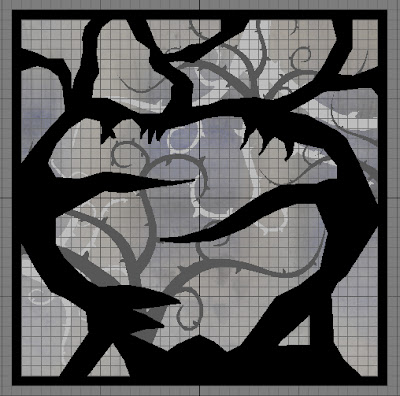
This is in case the 3D fancy camera version Graeme was looking into doing wasn't achievable in the time we have left.
Guys, let me know if I should add or remove anything (I know that the spinning animation would probs have to be placed on top of this image which is why I left it without a lantern).
Guys, let me know if I should add or remove anything (I know that the spinning animation would probs have to be placed on top of this image which is why I left it without a lantern).
Sunset
Here's the best one I could muster for you to hopefully be usable as a skybox.
Working on the title with it now - shouldn't take long - half way there :)
Working on the title with it now - shouldn't take long - half way there :)
Saturday, 12 May 2012
3d Boy in game
I'm afraid that I don't have screen capture software on my mac to show you a video, so you'll have to make do with some pics for now, but I have Kalveer's model and animations running fine in the game now. I split the jump animation into four stages: Pre-jump, Jump, falling and landing, so that you also get the falling animation when you fall of the edge of the platforms. I also coded a rotation on the boy so that he is not moonwalking backwards when you touch the left-half of the screen. It took longer than I would have liked to set it up, but then these things always do. I hope you like the results.
Friday, 11 May 2012
Sounds
http://www.freesound.org/people/pushtobreak/sounds/16796/
http://www.freesound.org/people/pushtobreak/sounds/16795/
http://www.freesound.org/people/gregswinford/sounds/70100/
http://www.freesound.org/people/Opossum/sounds/22341/
http://www.freesound.org/people/Benboncan/sounds/62912/
http://www.freesound.org/people/arvid/sounds/17619/
http://www.freesound.org/people/pushtobreak/sounds/16795/
http://www.freesound.org/people/gregswinford/sounds/70100/
http://www.freesound.org/people/Opossum/sounds/22341/
http://www.freesound.org/people/Benboncan/sounds/62912/
http://www.freesound.org/people/arvid/sounds/17619/
Sunday, 6 May 2012
Longest Path - collecting all collectibles
The images below show the longest route the character will have to take to collect all collectibles. The areas that are shaded are the blocked off areas where the character cannot go. Limiting the areas where the character can be trapped to make the first level more simpler than being too complex. Otherwise it may bore the player when playing as they keep getting trapped.
 |
| SW Face 1 |
 |
| HG Face 2 |
 |
| RH Face 3 |
 |
| MF Face 4 |
 |
| R Face 5 |
 |
| BR Face 6 |
Thursday, 3 May 2012
UV body of the Charcter
Monday, 30 April 2012
Screenshots Low Poly Character Model
Hi all, here's a screenshot showing 3D model I created in 3DS Max for the playable character in our game. Ready to be textured and UVW.
Tuesday, 24 April 2012
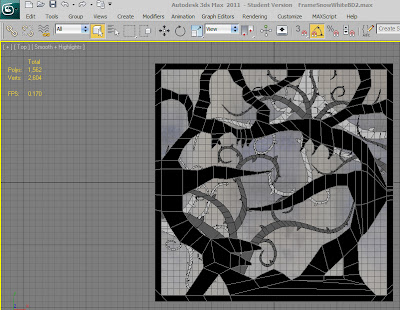
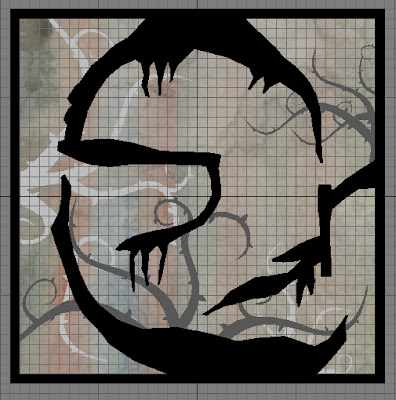
3D Background layers modelled
Low poly 3D modelling tutorial
http://www.youtube.com/watch?v=IXCY5Mq3isU&feature=BFa&list=UL-P2o4M-hRgA
Don't worry that this is using Blender: So long as you know the equivalent tools in Max, it is basically the same. If you have any problems with setting up image planes or mirroring the mesh, email me and I'll create a tutorial for you.
Don't worry that this is using Blender: So long as you know the equivalent tools in Max, it is basically the same. If you have any problems with setting up image planes or mirroring the mesh, email me and I'll create a tutorial for you.
Monday, 23 April 2012
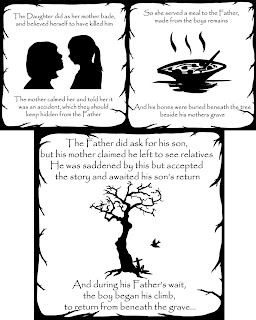
Game Story
EDIT: Fixed spelling errors and changed text slightly according to what was recommended.
This new layout is giving me some difficulties but anyhow! This is a little late thanks to some technical difficulties stopping me from accessing my folders with the work inside.
The main thing I want to ask people is if the silhouette's are alright, the text can be easily edited and I left the background blank for now but I think it'd look good with some really bright and solid colours behind the pictures. What do you guys think?
Also, this is an attempt to explain the story so far but I was worried it was becoming too much, not sure if it needs more or less so let me know.
Lastly, Kalveer I am trying to comment on your posts but Blogger seems to think I'm not logged in (been happening for a while) I'm liking the lighter background layers and I think they work a lot better now that you can clearly see it's not the same colour as the fore-ground.
From left > right, top 2 then bottom 2 :)
Monday, 16 April 2012
Thursday, 29 March 2012
SW Level design with collectibles
Heya sorry forgot to post this. This was a quick test I did where possible collectibles could be from looking at the possible character paths I created. The test was made to help visualise the Snow White face design. These apples also stand out well from the background. The green and red apples are the good collectibles. The cut green apple is the bad poisonous apple.
Traps
A few traps in case they can be used as well.
I've kept them black for now to go with the other "dark" parts of the game, also because they're pretty basic.
Might work out better if we think of adding these during Post-Production in case we're too short on time :)
I've kept them black for now to go with the other "dark" parts of the game, also because they're pretty basic.
Might work out better if we think of adding these during Post-Production in case we're too short on time :)
Watercolours of sorts
This is a bundle of the watercolours I'd played around with both in Pre-Production (where we were originally going to have a dark background and a light foreground) and the Production stage.
Kalveer currently has the larger files and is attempting to put them together with the backgrounds/foregrounds she has produced.
Ironically one of my faverites is actually the light blue top middle version that was made during Pre-Production, and unfortunatly although the colours were bright when wet, they kept becoming pale once they had dried out (tried on different types of paper) not sure what everyone else thinks though.
Wednesday, 28 March 2012
Background Idea SW
Shortest Path for Character
These show the shortest path the character can take for each of the first 3 faces. The quickest route taken starting from SW face to HG and then to LRH. For the shortest path to complete the level you need to make sure that you collect all six keys (major collectibles) to enter doors in the next level. The other collectibles let you gain extra points if you get bad collectibles your points get subtracted. In this level there is only one door on the last face of the cube. BR
Below I have shown the path of the character and where possible enemies could be and collectibles. I have rotated the cube in the 4 possible ways it can be rotated when playing the game when paused, to help visualise the palyers path clearer.
 |
| SW Face 1 |
Subscribe to:
Comments (Atom)


